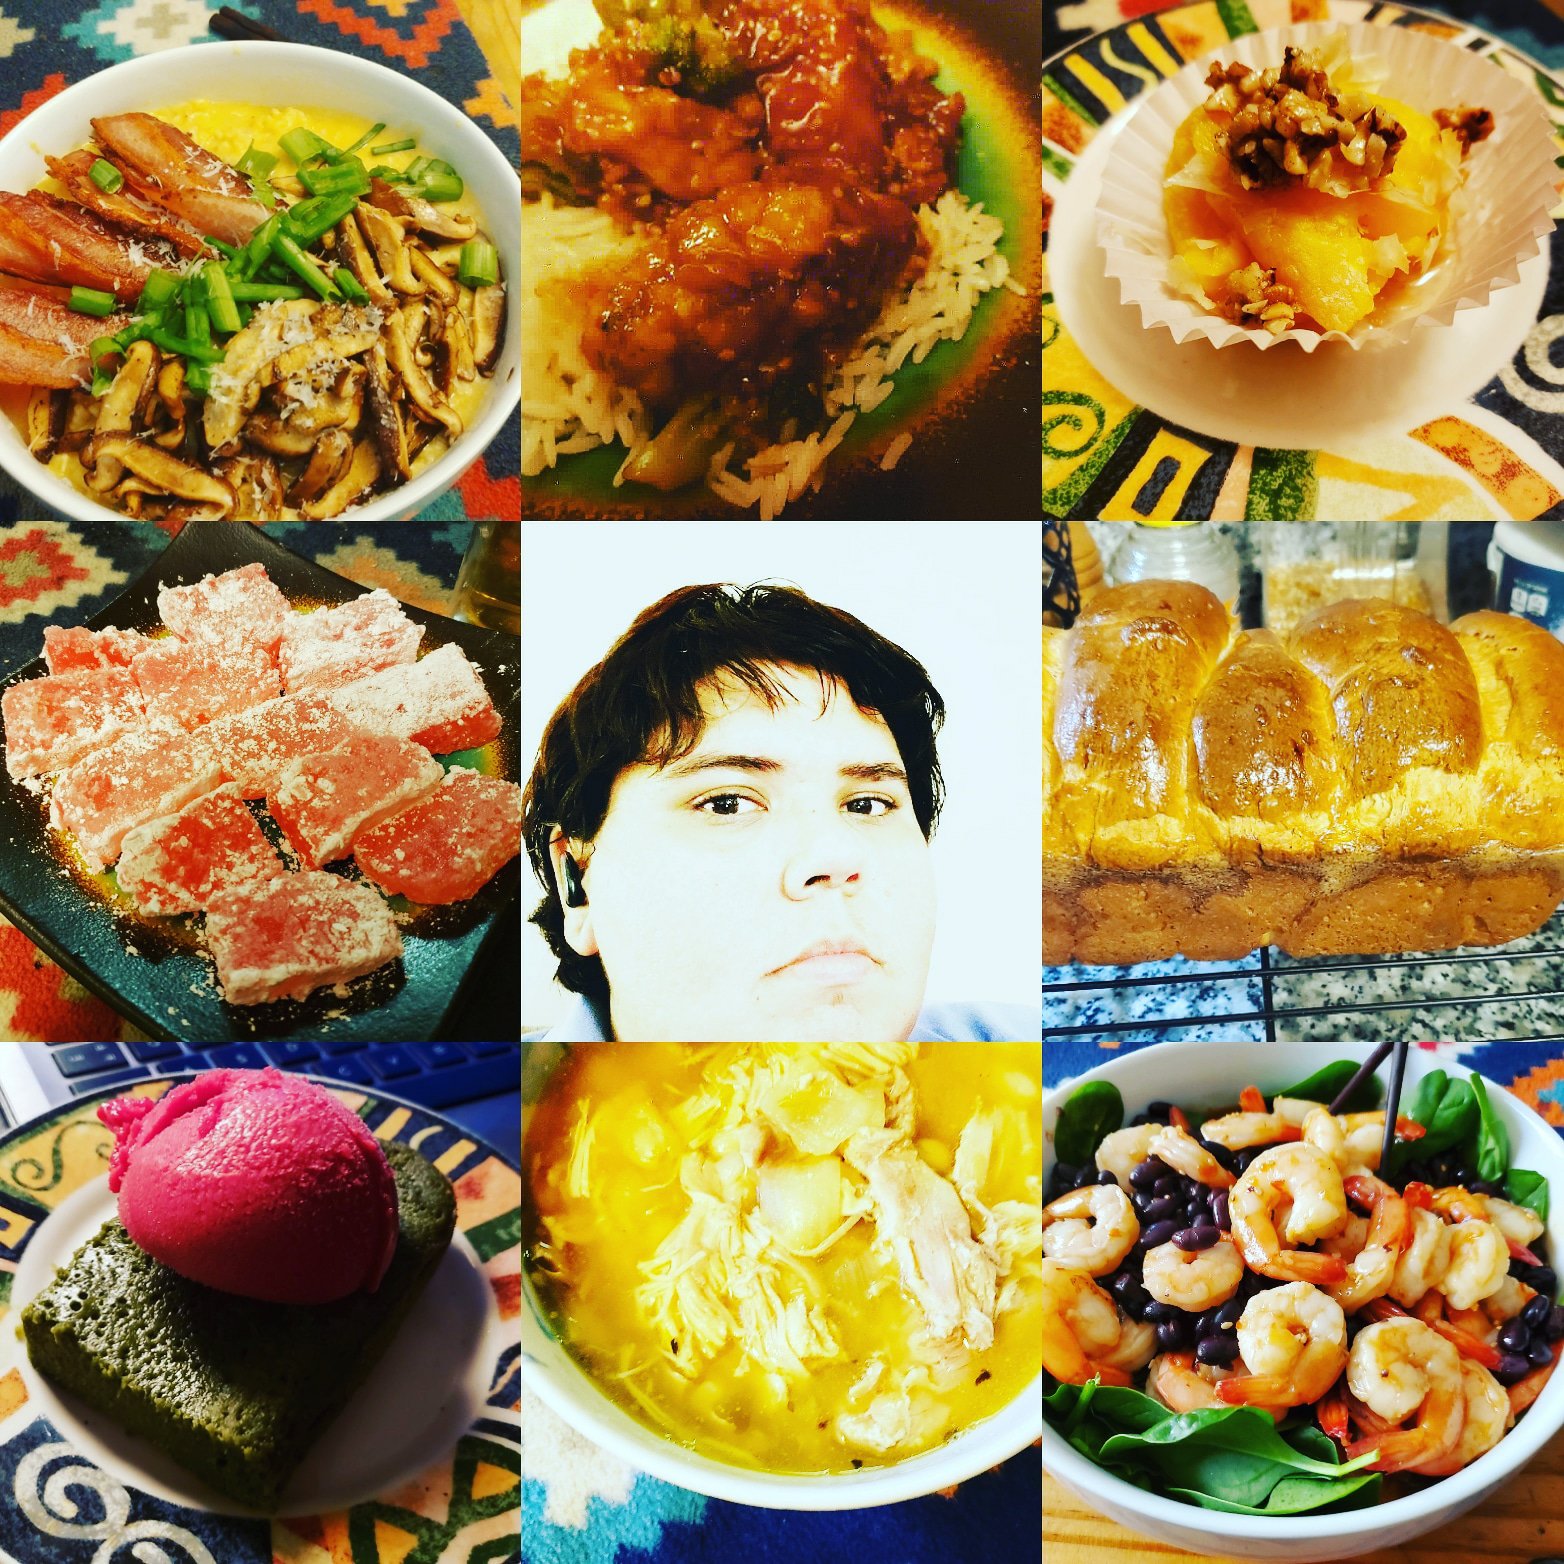
End of April Check-in

So, as it stands, Foodie Frontier is still cooking, however due limitations of funds, and interference from my day job, a need to meal prep things for consistent meals, etc. I do not upload content frequently on my blog page. That being said, I do have plans to expand my breadth and scope once COVID-19 risks are significantly reduced. While on semi-quarantine, I  gained ServSafe certification, so with that refresher and the documented evidence to back it up, I may just campaign in my community in the coming months to raise funds for ingredients.  I made a Patreon last year, and while I wanted to wait a while before making it public, I realize now that said creator support resource may be my best bet to gain funding for my blog/YouTube Channel. So if you are a fan of what I’ve been doing, and would like to see a drastic increase in quality; please consider My Foodie Frontier Patreon page
Screenshot (29)

COVID-19 Awareness March 2020

Foodie Frontier is a one person operation, and as a result of that; my personal life may prevent Me from posting for some time. Due to the world wide outbreak of COVID_19, dad the fact I work at a Pharmacy, I am working with more frequency. In these stressful times remember: Stay safe, healthy, calm, and well informed, Stay inside, and wash your hands like Lady Macbeth.

Homemade Rose Soda, makes 4 – 8 (8 fl. oz.) servings

The finished product.

You will need:

  • 2 cups sugar
  • 2 cups water
  • 2 tsp rose water
  • 2 drops red food coloring
  • At least 1 litre club soda

Steps:

  1. Melt sugar down in a medium saucepan at medium to medium high heat, wisking frequently until Carmelized
  2. Add water. Sugar will seize up, this is normal.
  3. Bring sugar water to a boil, wisking frequently until sugar dissolves.
  4. Add rose water
  5. Add food coloring.
  6. Remove from heat and let cool.In an 8 fluid ounce glass add Tbs. Rose syrup over ice and dillute with club soda. Stir and serve.

Gluten-free sandwich bread: Complete (ver. 1.0)

VIAM INVENIUM AUT FACIUM

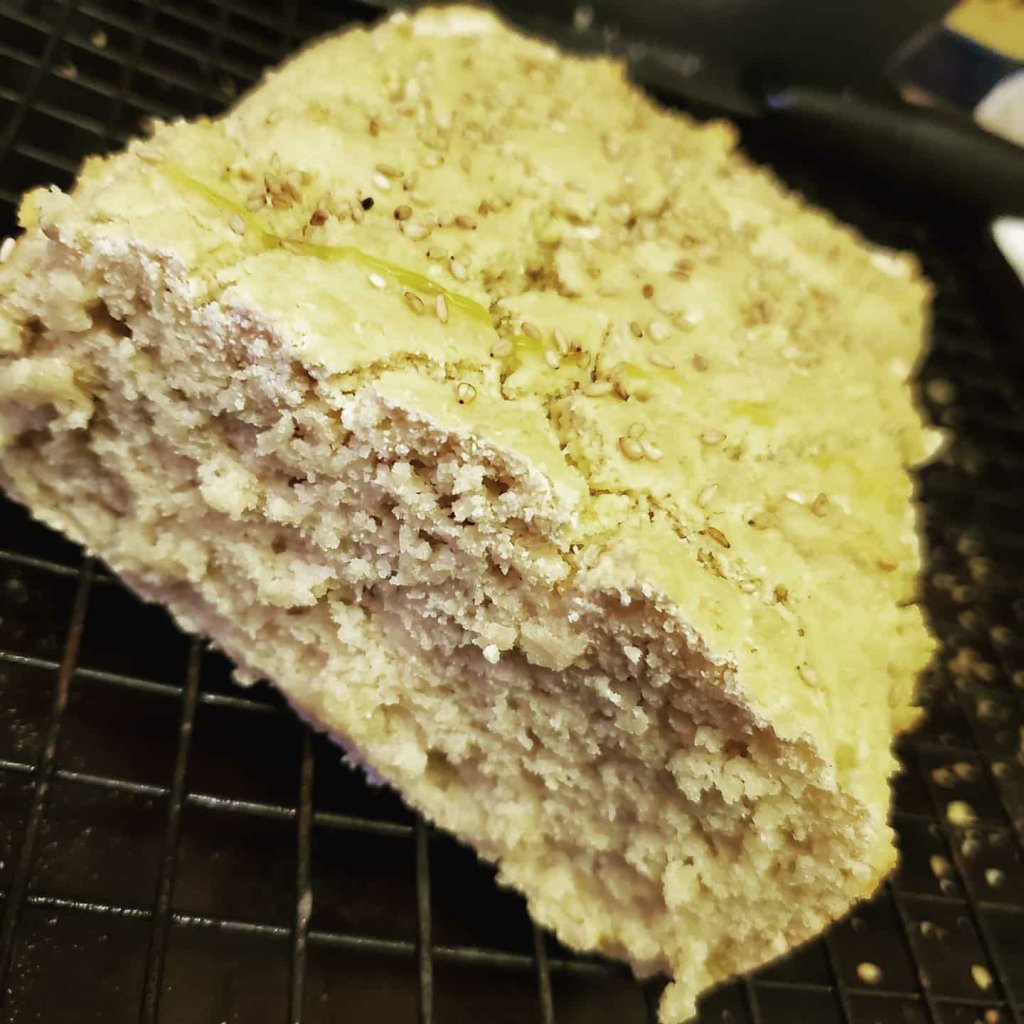
Gluten-free bread attempt no. 3 is a success! Here be the recipe:
Ingredients:
1 packet Activate dry yeast
1½ cups warm water, just barely above room temperature
1 ½ cup cassava flour
1 cup chickpea flour
1/2 cup tapioca starch
1 tsp. Baking powder
1 Tbs. Sucrose
4 Tbs Olive oil
3 eggs
1 tsp. Rice vinegar
Directions:
Step one: preheat oven to 350°F
Step two: mix yeast into warm water, and let activate for five minutes
Step three: whisk together all dry ingredients in a large bowl.
Step four: using a hand mixer or stand mixer, blend the yeast water into dry ingredients.
Step five: add eggs, oil, and rice vinegar and mix until like a thick batter. Scoop into a lubricated loaf pan. (Parmesan and sesame seed topping is optional)
Step six: Let rise. How long, probably 45-60 minutes, or until just over the top of the pan
Step seven: bake at 350°F for 30 minutes.
Step eight: gently remove loaf from pan and place on a wire rack to cool.
Step nine: slice with a serrated bread knife, and enjoy.

I made a victorious egg and tomato sandwich after the fact.

Second Gluten free (also, dairy and sugar_free) bread attempt. [Experiment with recipe]

A moderate success at best, I should have let it rise longer…

You will need:

1) 1.5 Tbs. Activate dry yeast

2) 1.5 cups warm water, just barely above room temperature

3) 1 and 1/3 cup cassava flour

4) 1 and 1/3 cup chickpea flour

5) 1/3 cup tapioca starch

6) 1 tsp. Baking powder

7) 2 eggs

8) 4 Tbs Olive oil

9) 1 Tbs. Sucralose

10) 1 tsp. Rice vinegar

Directions:

Step one: preheat oven to 350°F

Step two: mix yeast into warm water, and let activate for five minutes

Step three: whisk together all dry ingredients in a large bowl.

Step four: using a hand mixer or stand mixer, blend the yeast into dry ingredients.

Step five: add eggs, oil, and rice vinegar and mix until like a thick batter. Scoop into a loaf pan.

Step six: Let rise. How long, probably 30-45 minutes. I only did 15. Don’t be like me. Let it rise.

Step seven: bake at 350°F for 30 minutes.

Step eight: gently remove loaf from pan and place on a wire rack to cool.

Step nine: slice with a serrated bread knife, and enjoy.

I made a couple of fried egg and tomato sandwiches.

To be fair, the bread has an excellent flavor, a nice crumb, a fragrant crust; it’s just not risen enough. Please get in touch if you tried and/or improved this experimental recipe or is my hunch is right and it just needed to rise more.

Tacos con Pollo de Esmeralda (American Chinese takeout/Latin fusion)

These tacos are spicy sweet, but also fresh and bright.

Ingredients:

-Yellow corn tortillas

For the chicken

-2 lbs. Boneless skinless chicken thighs

-5 eggs

-2 cups all-purpose flour

1 cup corn starch

For the salsa Esmeralda (emerald sauce):

-3 jalapeño peppers

-8 serrano chili

12 fl. oz. Honey

1 tsp cilantro

2 Tbs garlic, minced

1/2 onion, diced

Salt and pepper to taste

For the slaw:

1/2 lb. Shredded cabbage

4 Tbs. Honey

1 cup red wine vinegar

1 tsp cilantro

1/8 cup lime juice

Step 1. Take all the sauce ingredients and blend until smooth, set aside.

Step 2. Cut the boneless skinless chicken thighs into one inch pieces.

Step 3. Whisk the eggs in a bowl until completely scrambled, in a separate bowl, whisk together flour and cornstarch with salt and pepper.

Step 4. Lightly coat chicken pieces in egg, the dredge in the flour mixture. Fry in a wok or deep cooking pot with 3 inches of high temperature cooking oil, peanut or avocado, etc. Making sure the oil is rippling hot before frying. Do this in batches as overloading chicken into the oil will cause the temperature of the oil to drop. Fry each batch for 5 minutes

Step 5. Take the vinegar, avocado oil, honey, lime juice, cilantro, salt and pepper to prepare a vinegrette. Toss with cabbage and set aside.

Step 6. Once all chicken is cooked, put a small amount of oil in a skillet, and preheat to medium high heat. Fry the amount of tortillas you need for your plate in a single layer, about 1 minute on each side.

Step 7. Assemble. Place 2-4 pieces of chicken on each tortilla, top with a spoonful of slaw, then a spoonful of salsa Esmeralda. Then enjoy.

The Foodie Frontier Koji Experiment

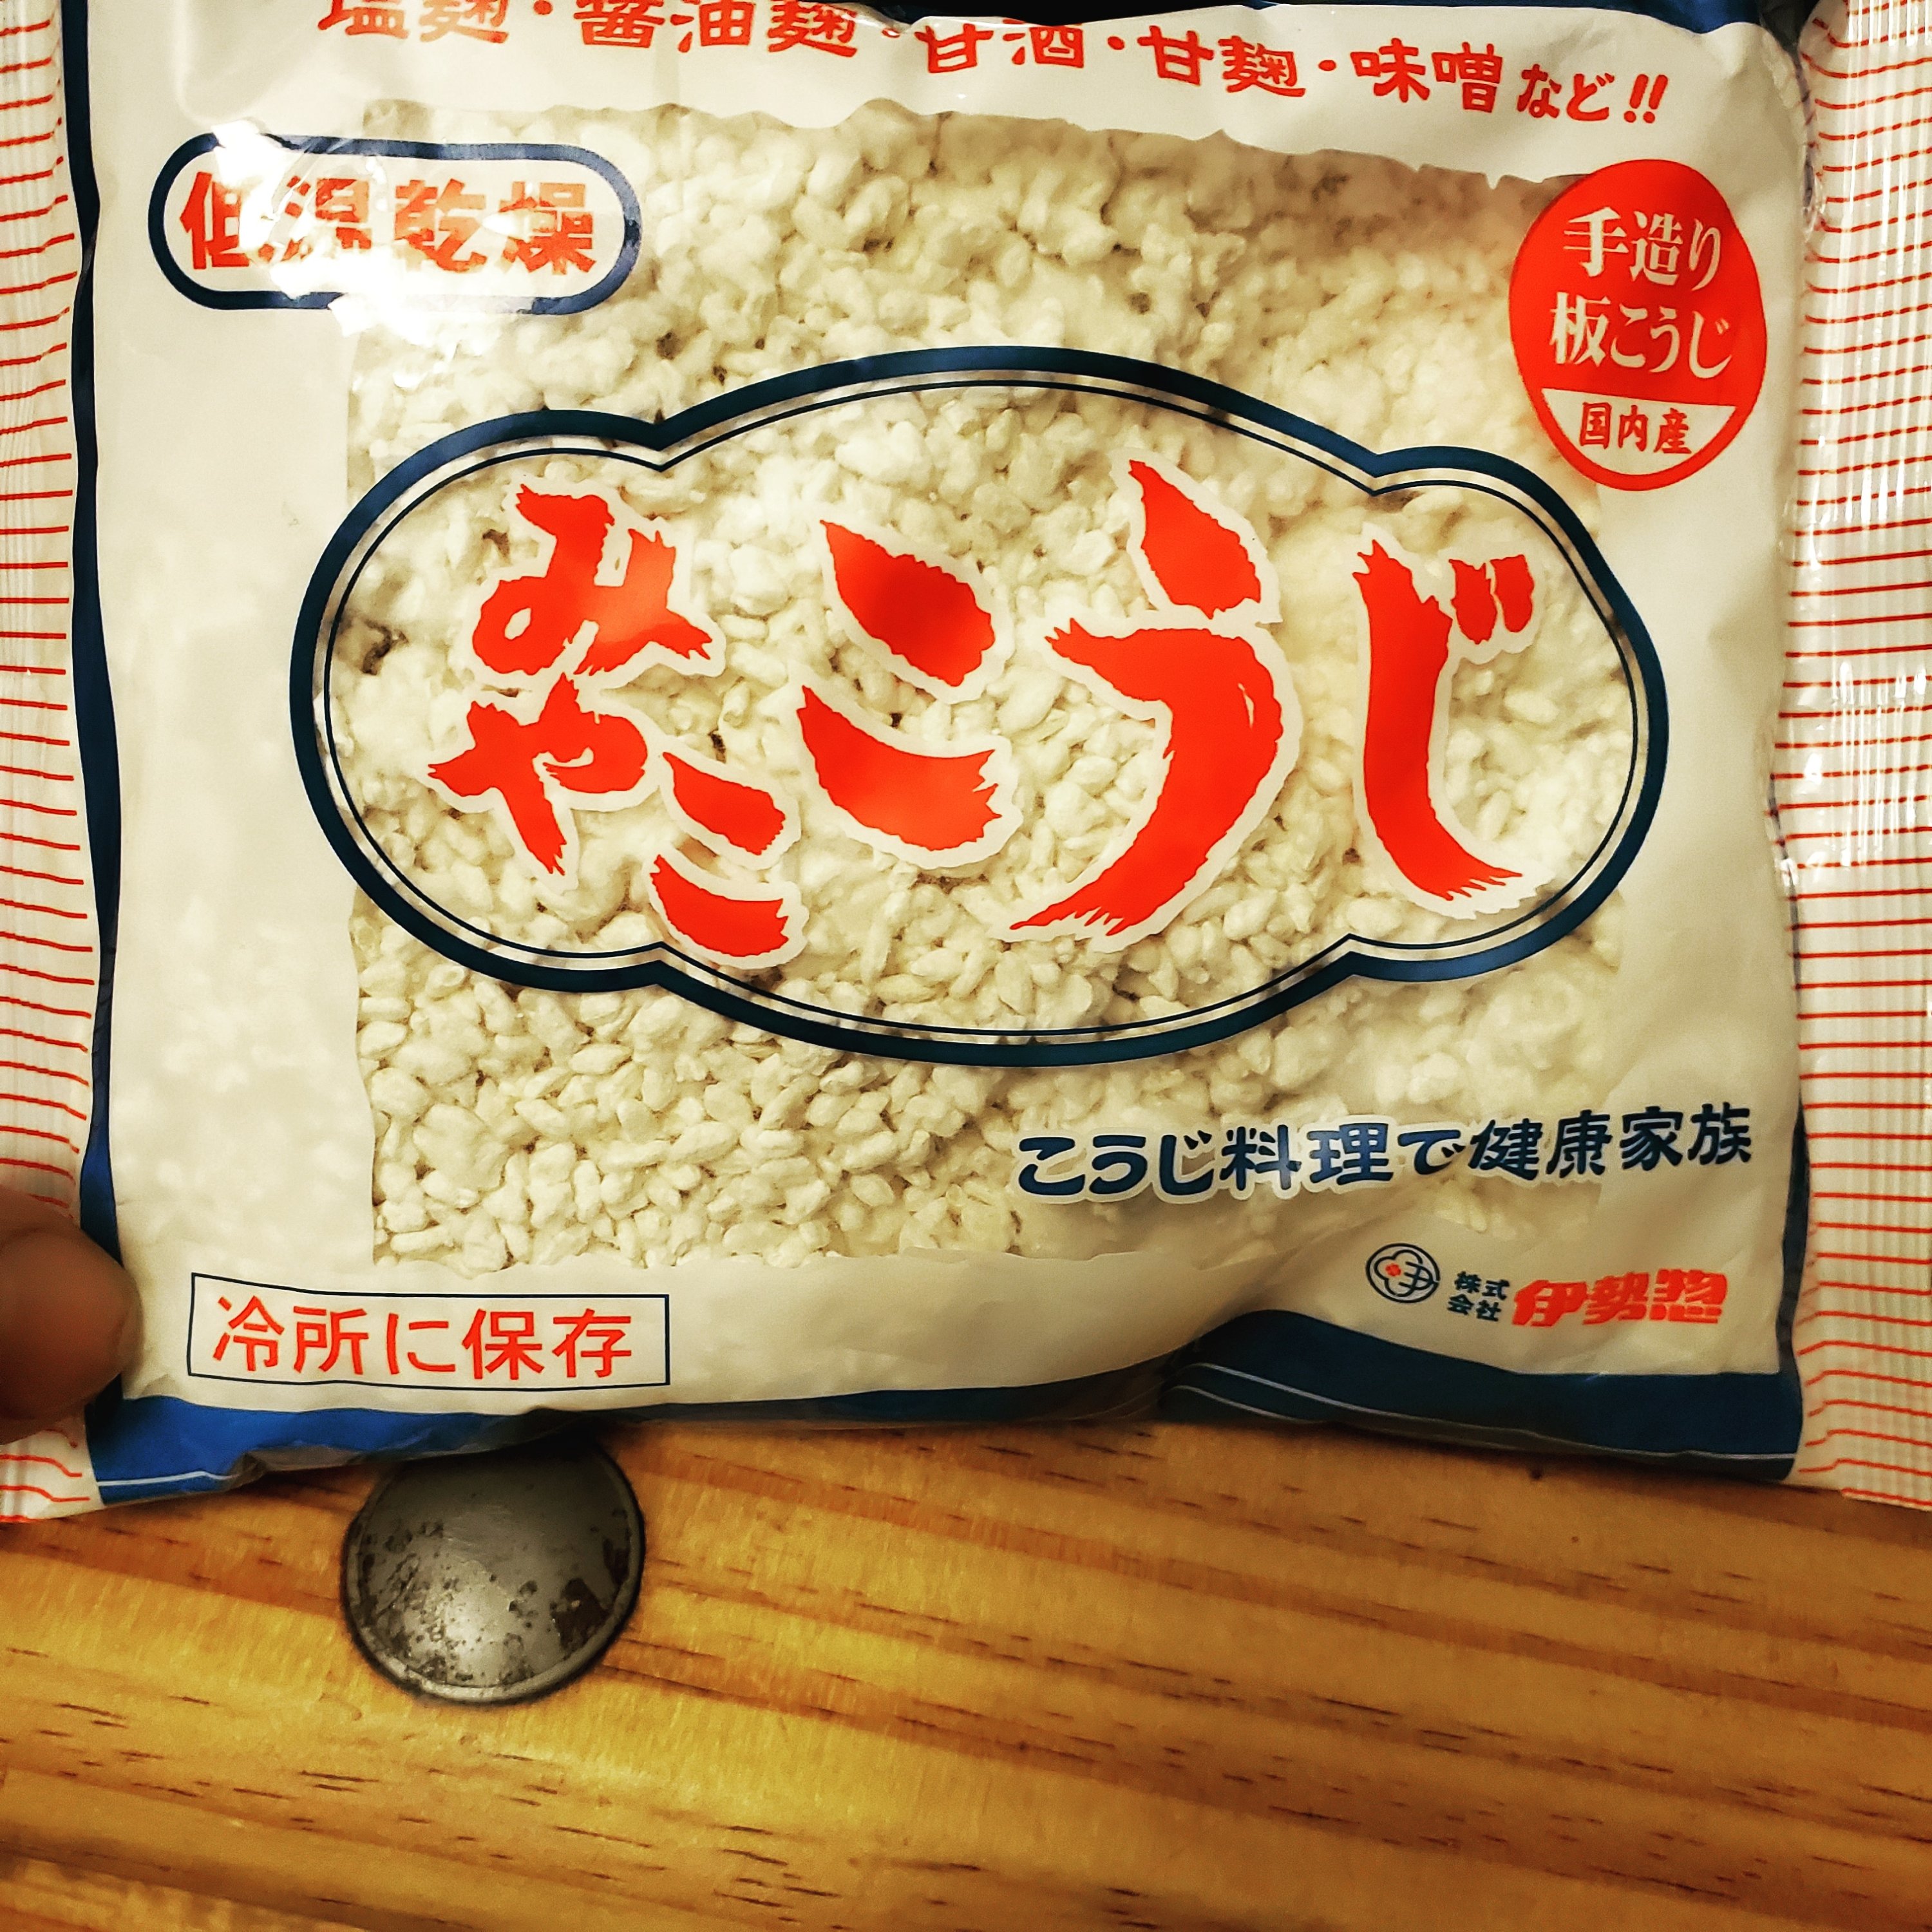
When I first heard of Koji, the malted rice used in the manufacturing of sake and soy sauce, being used to mimic dry aging, I was excited to try it myself.

Some blogs and YouTubers did it right, others not so much, but in my experience, it turned out wonderfully.

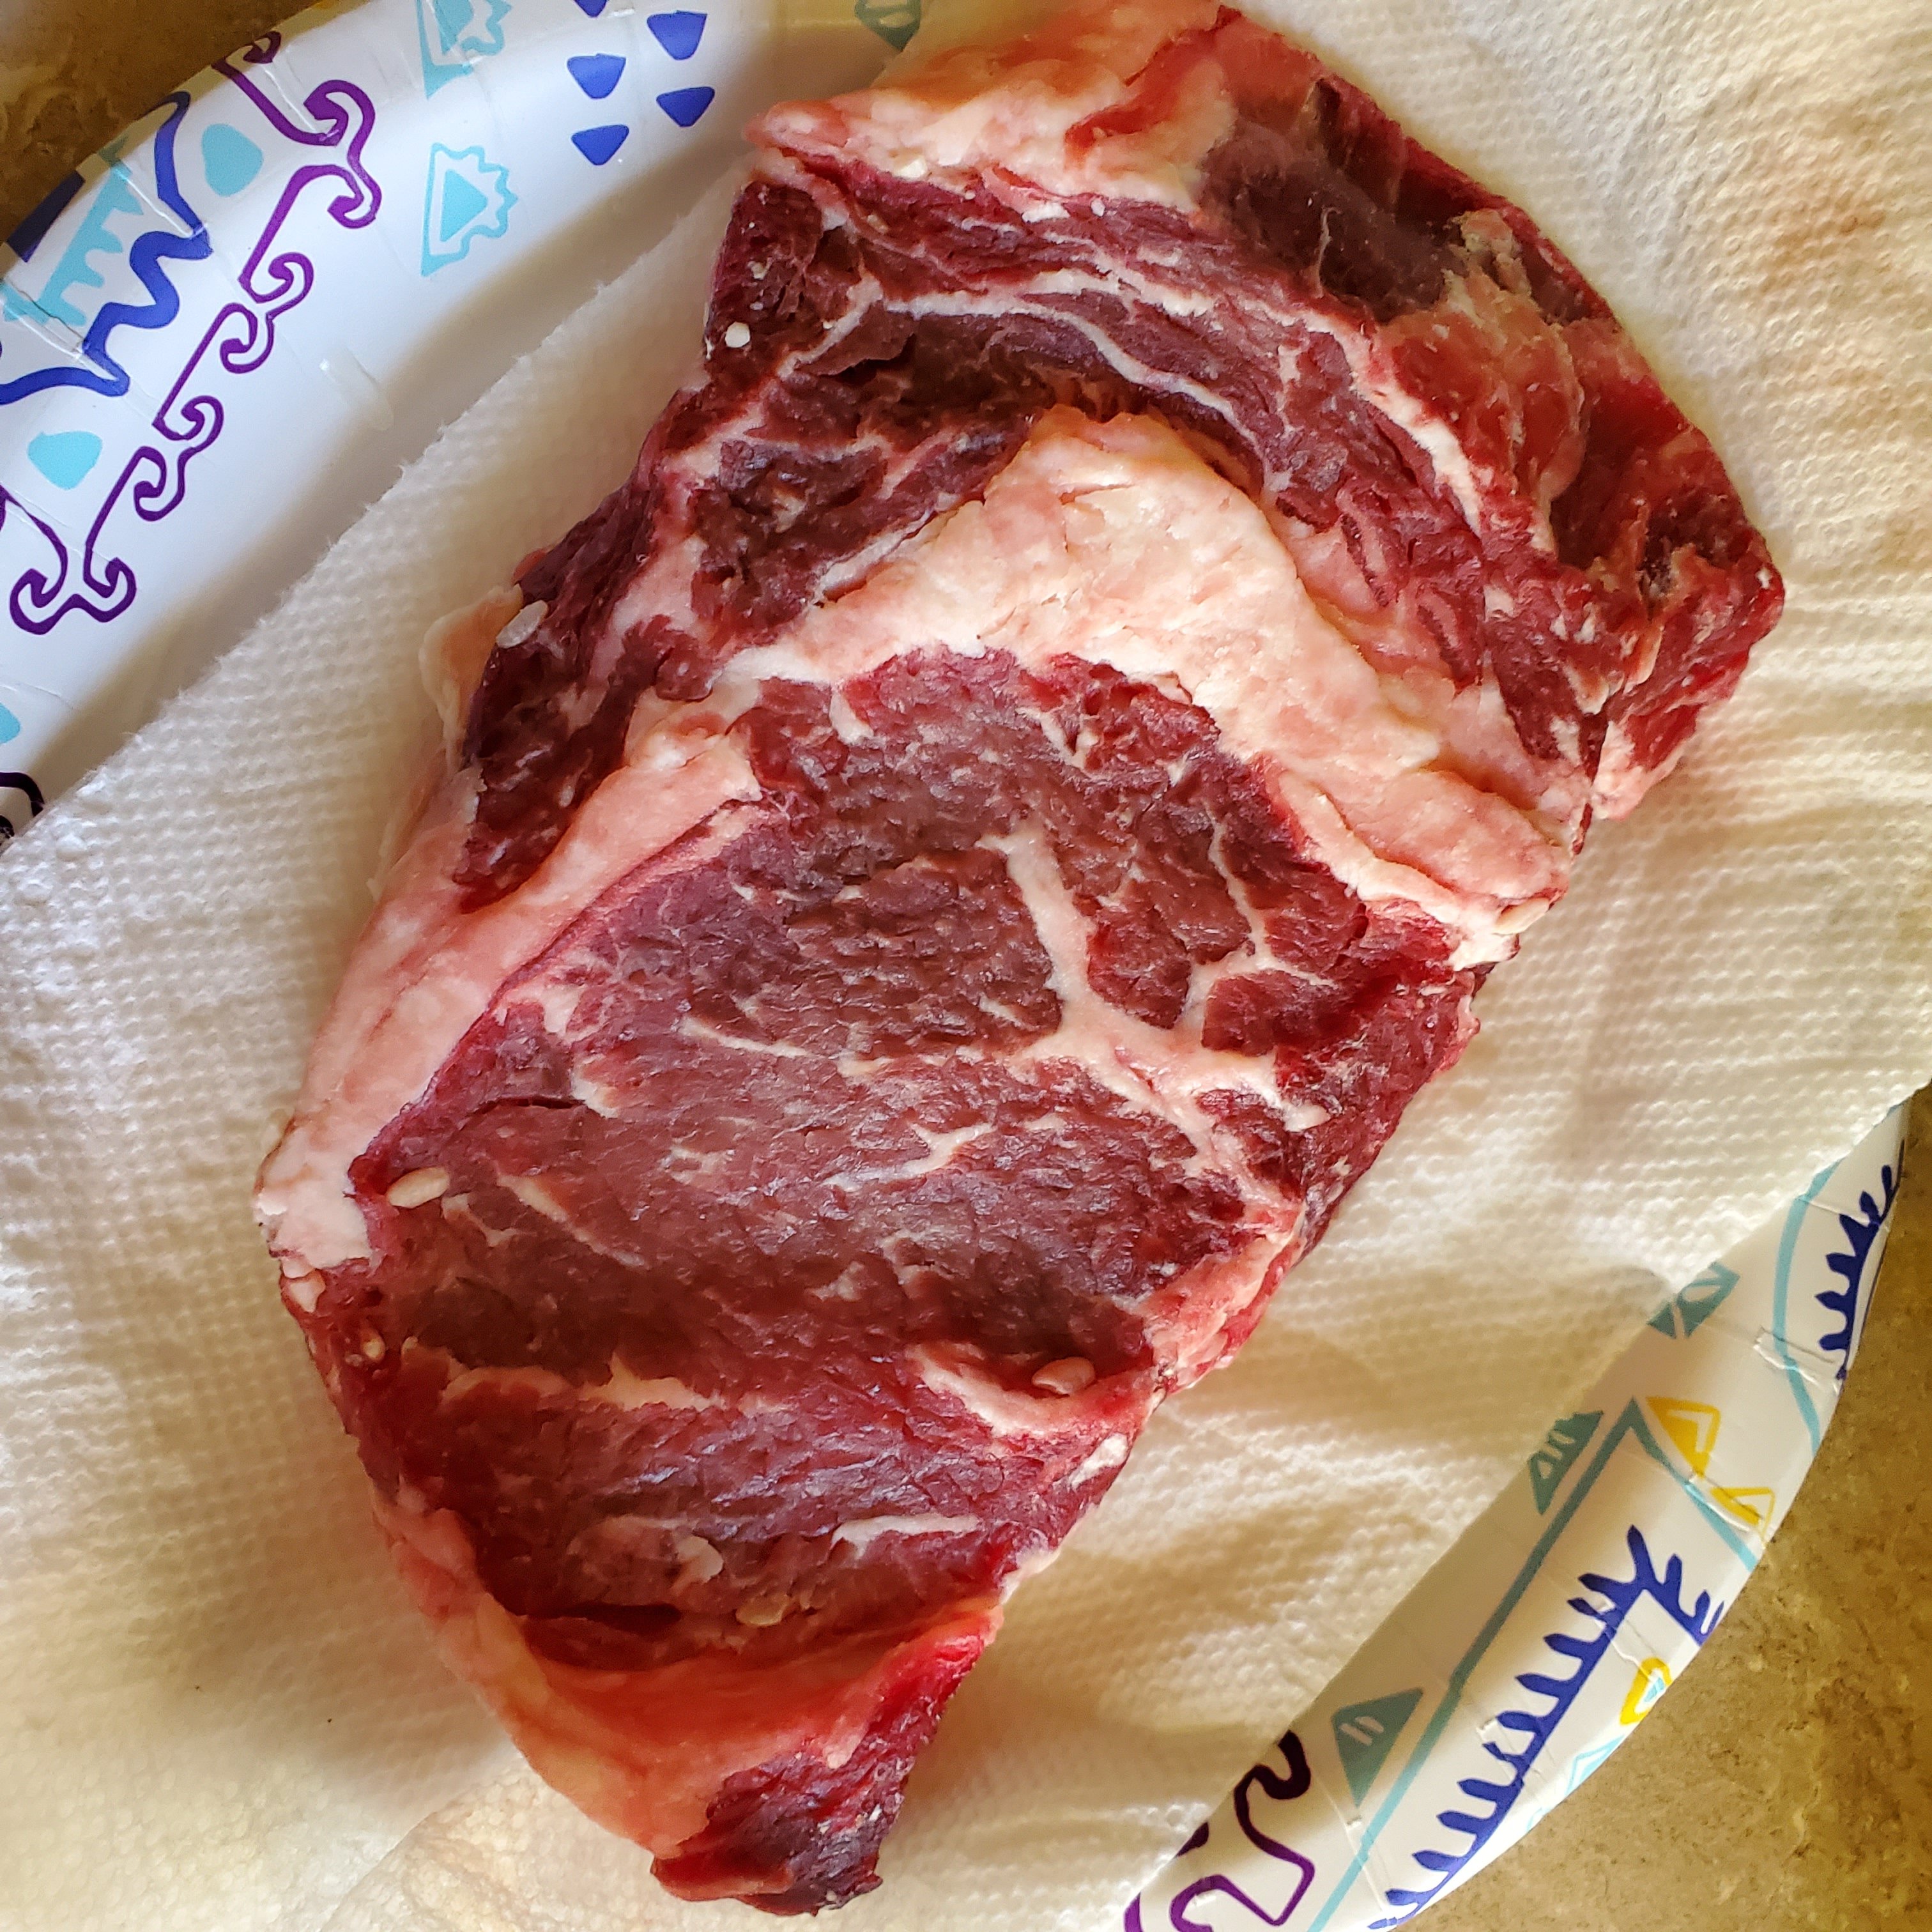
First I patted Koji onto a USDA choice ribeye steak and let it sit in the refrigerator for 38 hours.

After 38 hours I rinsed the Koji off with cold water making sure it was completely removed, and then patted the steak dry.

Then I preheated a baking pan in the oven at 350°F and then seared each side of the ribeye in a skillet, took it out of the skillet and finished cooking in the oven. Then served with steamed broccoli and my signature mac and cheese.

Overall, the flavor of the steak is above average by a noticeable margin. 9.2/10 will try again.